
Last updated November 15, 2026
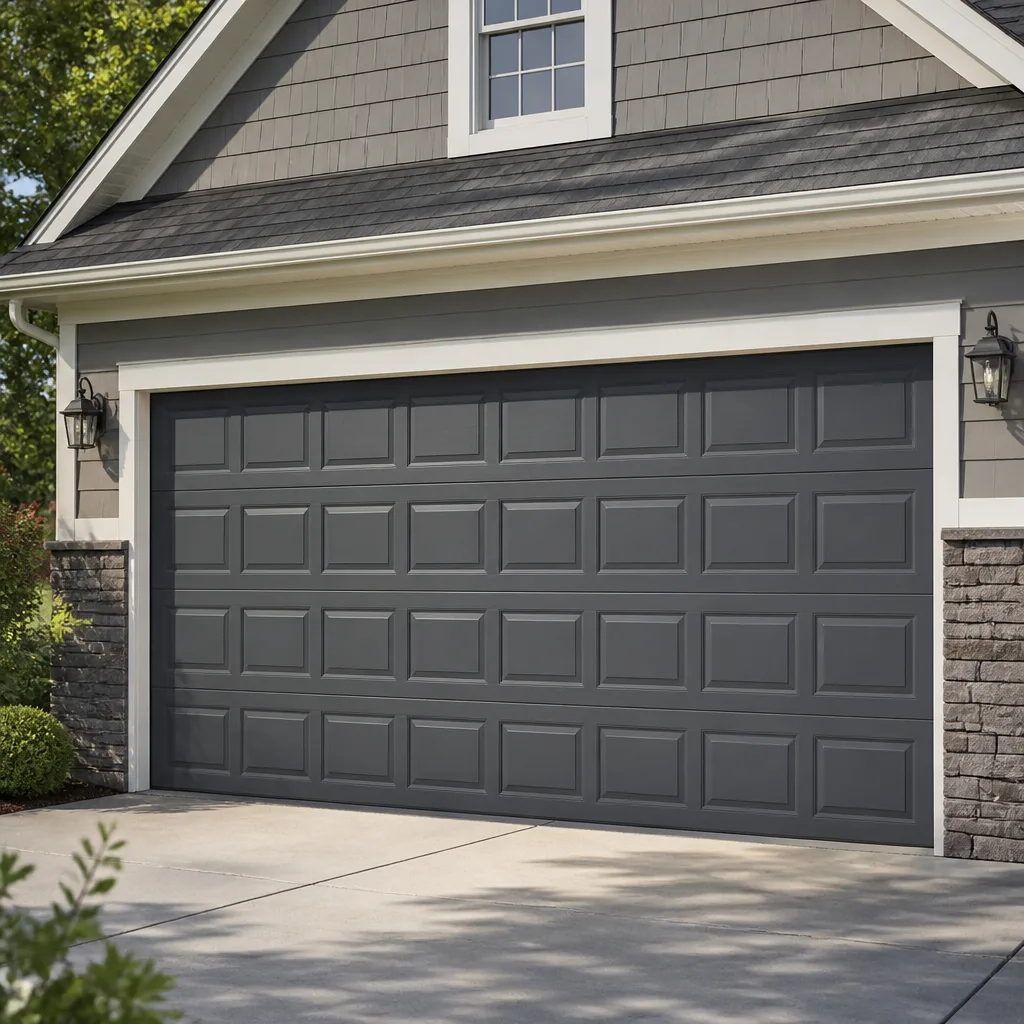 Raised-panel steel
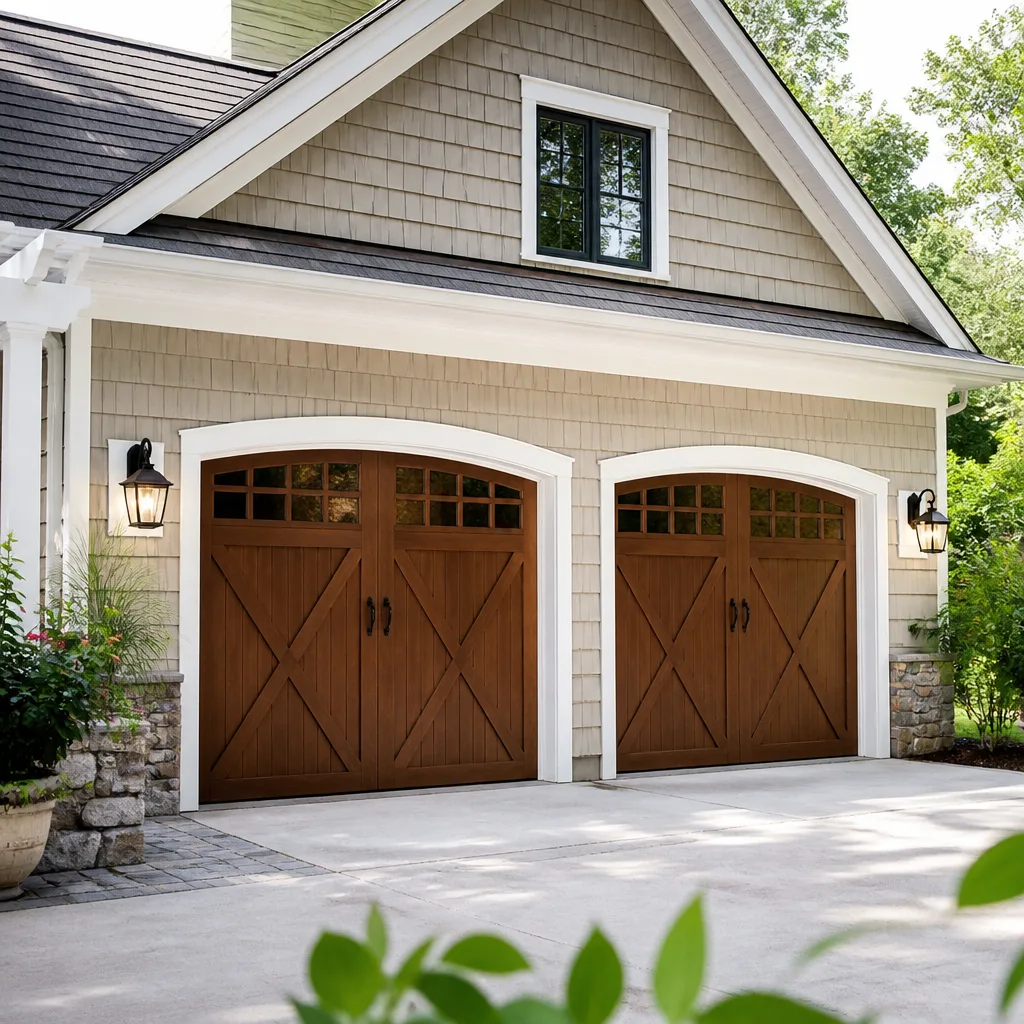 Carriage house
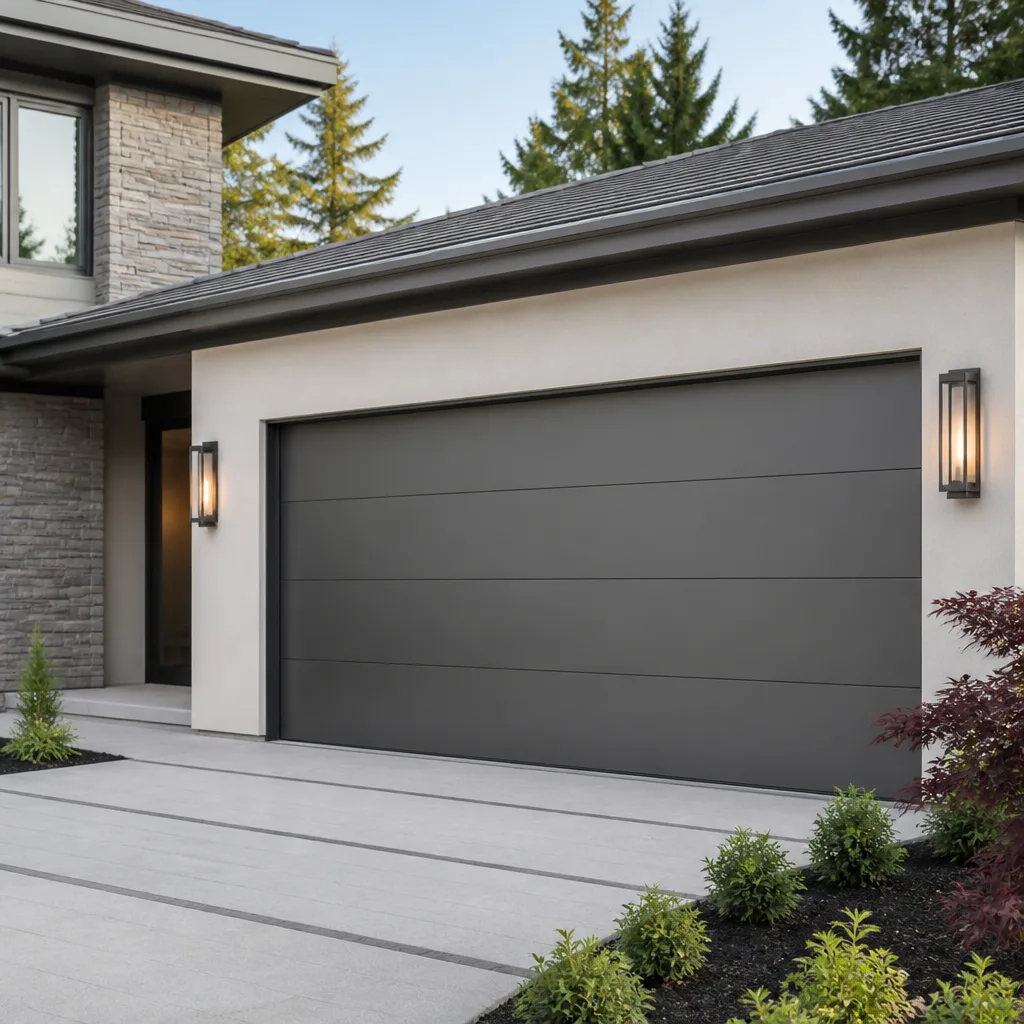 Modern flush
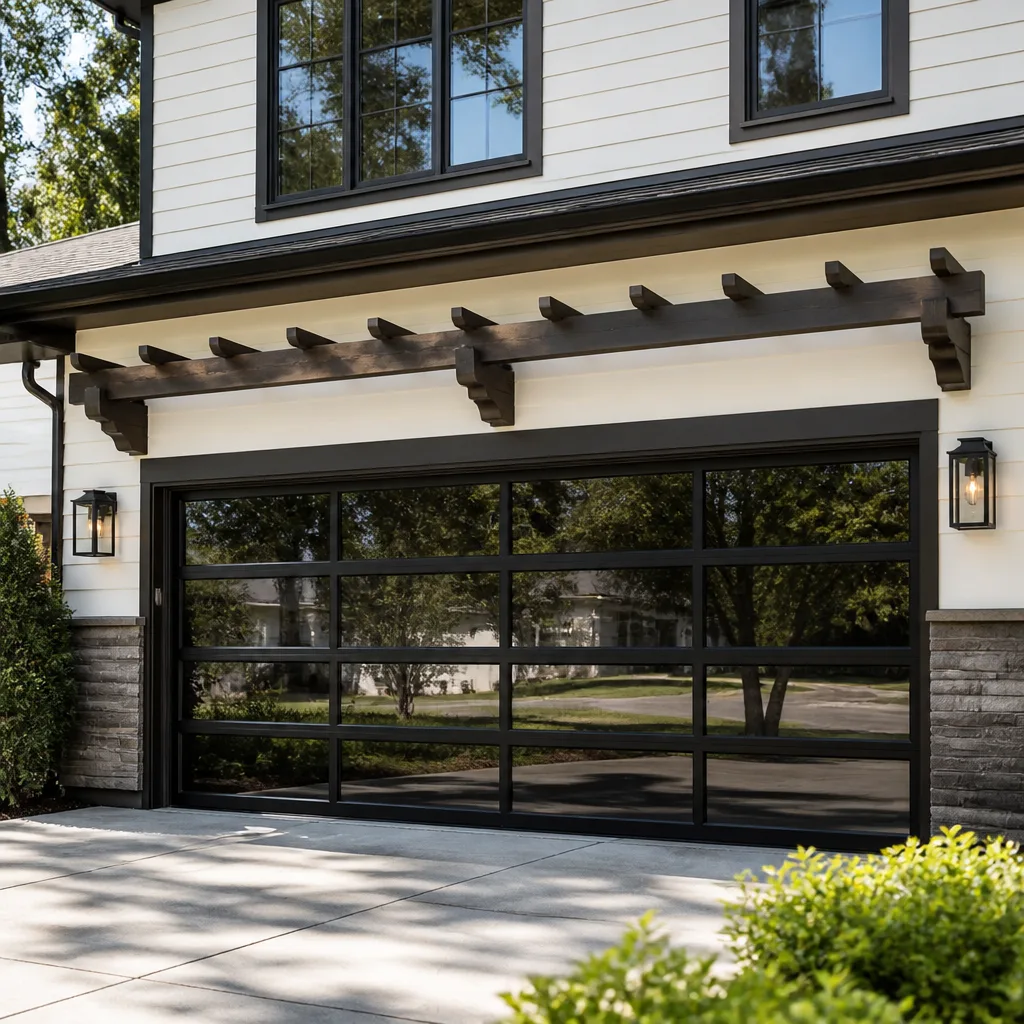 Full-view glass
 LiftMaster openers
 Chamberlain openers
Full 25-point door and opener safety check with every visit - springs, cables, rollers, tracks, and your LiftMaster or Chamberlain opener included
You get a price before we start. It does not change when the pro arrives.
Get your free estimateGarage Door Repair Maintenance Schedule: What to Do and When
Most garage door advice tells you to lubricate the door twice a year and call it done. That guidance is close to worthless without knowing which six months. In San Angelo, a product applied in August sits on hot metal and thins out before it works its way into a hinge pin, while the same product applied in October does exactly what it should. A garage door doesn’t need constant fussing. It needs four specific tasks done at two specific times of year, timed to the temperature swings this part of West Texas actually gets. In this guide, we walk through a two-season maintenance calendar built for San Angelo homes, the components to check and the pass/fail signs for each, and the work that genuinely needs a trained eye.
Quick Answer
A garage door in San Angelo should get a full maintenance pass twice a year: once in late spring before summer heat sets in, and once in late fall as temperatures cool. Each pass covers lubrication, a balance check, a safety-reverse test, and a visual inspection of springs, cables, rollers, and hardware. Between those passes, most homeowners only need to glance at the door once a month and listen for new noises. A professional tune-up every two to three years catches the wear you can’t see.
Styles & brands we work with
- Raised-panel steel
- Carriage house
- Modern flush
- Full-view glass
- LiftMaster openers
- Chamberlain openers
Table of Contents
- Why San Angelo Needs a Two-Season Calendar, Not a National One
- The Late-Spring Maintenance Pass: What to Do Before Summer Heat
- The Late-Fall Maintenance Pass: What to Do After the Cool-Down
- The Component Inspection Order (and Pass/Fail Criteria You Can Apply)
- How to Spot Spring and Cable Wear Before Failure
- Opener Maintenance Differences: Genie, LiftMaster, Chamberlain, and More
- What a Professional Tune-Up Checks That You Can’t
- The Five-Minute Monthly Check
Why San Angelo Needs a Two-Season Calendar, Not a National One
National maintenance advice gets written for an average American climate that doesn’t really exist anywhere. San Angelo runs hot and dry through the summer, with stretches that push well into triple digits, then swings wide through the winter as cool air moves in overnight and warms back up the next afternoon. Those temperature swings have a direct effect on a garage door. Steel panels expand in the afternoon heat and contract after dark. Springs lose some tension as temperatures rise. Lubricant film breaks down faster on a warm door in an unshaded garage than on a door in a mild coastal climate. A homeowner following “lubricate every six months” without regard for timing usually ends up doing the work in the wrong season for the product to hold.
Here’s how the two-season calendar breaks down:
- Late spring (roughly May): a full pass before the heat arrives. Lubricate, balance, test, inspect. You want the door in its best condition heading into the season that stresses it hardest.
- Late fall (roughly October or November): a second full pass as temperatures cool. Lubricate again, recheck balance (springs and hardware behave differently in cool weather), look for wear that appeared over summer.
- Between the two: a quick monthly glance and a listen. That’s it.
The calendar works the same for a Clopay steel door in the older neighborhoods near downtown San Angelo as it does for an Amarr door on a newer home out toward the edges of town. The product changes, the schedule doesn’t. Temperature is what drives the timing, and San Angelo’s temperature pattern is the calendar.
The Late-Spring Maintenance Pass: What to Do Before Summer Heat
This is the pass that matters most in San Angelo. Once the garage is holding heat through the afternoon, everything you do is fighting the conditions. Get to the door in late spring so the product has a chance to work into the hardware before the season stresses it.
Safety first. Disconnect the opener (pull the release handle) so the door is under manual control. Never put your hands anywhere near the springs, cables, or brackets that hold tension. Those components store serious force, and a spring or cable under load can release without warning. A trained technician handles anything involving spring tension or cable stretch. Your job on this pass is the accessible surfaces and hardware.
Follow this order:
- Wipe down the tracks. Use a dry or slightly damp cloth, not oil. Grease attracts grit and turns the tracks into a paste trap. Run the cloth up the full length of both tracks.
- Lubricate the hinges and rollers. A lithium-based or silicone spray at each hinge pivot and each roller shaft. One short press per point. Don’t soak the rollers; too much product drips onto the panels and attracts dust.
- Lubricate the torsion springs (lightly). A single light pass along the coils helps them move freely against each other during temperature change. Don’t go near the springs with tools or try to adjust tension; the lubrication is a surface treatment on the coil, done with a spray, not a wrench.
- Check the balance. Raise the door to about waist height by hand, then let go. A balanced door stays put. A door that drops quickly or rises on its own means the spring tension is off and needs a technician.
- Test the safety reverse. With the opener reconnected and the door in motion toward the floor, pass a firm object through the light beam (the sensors at the base of the tracks). The door should reverse on contact. Then test the pressure reverse: lay a 2×4 flat under the closing door. The door should reverse on contact. If either test fails, stop using the opener and call for garage door repair.
- Inspect the panels and weatherstripping. Look for dents, rust spots at the bottom seams, and weatherstripping that has cracked or pulled loose. San Angelo summers dry out rubber quickly. The gasket at the bottom of the door catches the most wear.
Doing this pass in late spring means the lubrication is fresh when the heat arrives, the balance is confirmed going into the stress season, and the door closes cleanly against the weatherstrip through the hottest months.
The Late-Fall Maintenance Pass: What to Do After the Cool-Down
Cooler temperatures change how a garage door behaves. Steel contracts slightly. Springs sit a touch stiffer overnight. Hardware that was quiet in August can develop a tick or a rattle as the parts settle into a cooler range. The fall pass catches all of it before it becomes a spring call.
Same order, slightly different emphasis:
- Re-lubricate the same points. Hinge pins, roller shafts, track edges. The lubrication from spring has thinned over the summer.
- Re-check the balance. A door that stayed put in May might drift now. Springs that lost tension over the summer often show it here.
- Re-run the safety reverse test. Sensors get knocked, beams get dirty, and the reverse test takes ninety seconds.
- Inspect weatherstripping on all four sides. Pull back the bottom gasket and look at the seal. Check the sides and the top where the door meets the frame. Cracks mean outside air and debris get in, and the bottom seal is the one that keeps out the most.
- Look for new wear since spring. Fraying near a cable end, a roller that has worn flat, a hinge that has started to bend. Fall is when the summer’s damage shows up.
- Test the opener’s remote and keypad. Battery contact points, and for smart-hub connected openers, whether the app still sees the unit. A quick rebuild of the connection here saves a surprise later.
If you’re in San Angelo and you can only manage one full pass in a year, pick the late-fall one. The door is entering its easiest operating season, so any deferred issue shows up clearly and you have months to address it before the next summer.
The Component Inspection Order (and Pass/Fail Criteria You Can Apply)
Inspection order matters because it moves from the safest components to the ones you shouldn’t touch. Work top down, outside in, and save the springs and cables for a visual pass only.
1. Tracks
Pass: straight, clean, and aligned vertically and horizontally. The door rolls smoothly from bottom to top.
Fail: visible dents, kinks, or a gap where the vertical track meets the curve. A bent track means the rollers will wear fast. Call a technician.
2. Rollers
Pass: all rollers present, seated in the hinge slots, turning freely, no flat spots.
Fail: any roller that wobbles, has a worn or chipped edge, or is missing. Rollers are consumable and cheap. Replace before they chew into the track.
3. Hinges
Pass: all hinge plates flat against the panel, pivot pins present, movement is smooth.
Fail: bent hinge plates, a pin that has worked loose, or a hinge that grinds when the door moves. Grinding usually means the lubrication has dried out and the pin is metal-on-metal.
4. Panels and Bottom Seal
Pass: panels straight, no rust at the bottom edge, seal flexible and in contact with the floor.
Fail: rust-through at the bottom of a panel, dented panels that bind on the tracks, or a bottom seal that has hardened and no longer touches the floor across its full width.
5. Springs (visual only)
Pass: springs intact, no visible gap in the coil, no rust-through, no sagging.
Fail: a visible gap in the torsion spring (a spring that has broken is in two pieces), heavy rust that has eaten into the wire, or a spring that looks deformed. Do not touch a broken spring. Call a technician.
6. Cables (visual only)
Pass: cables taut and even on both sides, no fraying, cable ends seated in their drums.
Fail: any fraying, a cable that looks slack or has jumped off the drum, or a cable end that has pulled out of its fitting. A slack cable can whip. Stop using the door.
Six checks, done top down. The whole pass takes ten minutes if nothing looks wrong.
How to Spot Spring and Cable Wear Before Failure
Springs and cables fail in two different patterns, and knowing which signs are “watch it” versus “replace now” is the difference between a planned repair and a door that quits at a bad moment. We’re careful here because these components are the dangerous ones. A garage door spring holds the weight of the door, often hundreds of pounds. A cable holds the spring’s force under tension. Neither is a do-it-yourself part.
Spring wear: measurable lifespan window versus replace now
Torsion springs are rated for a cycle count (an open plus a close equals one cycle). The rating is on a tag or in the manufacturer’s documentation. It’s a service-life number, not a countdown you can read off the spring. Instead, watch for these signs:
- Watch it: light surface rust along the coil. A little rust is normal in San Angelo, where dry dust settles into the coil and humidity swings in winter can cause flash rust. Keep the coil lubricated and note the date.
- Watch it: a spring that creaks more than it used to. A creak is usually a lubrication issue. Re-lubricate at the next full pass.
- Watch it: a door that feels heavier when you lift it by hand. Slight increase means the spring has lost tension. Get it checked at the next professional tune-up.
- Replace now: a visible gap in the coil. That’s a broken spring. Stop using the door and call for service.
- Replace now: a spring that sags or looks warped. A deformed spring can fail without warning.
- Replace now: heavy rust that has eaten into the wire thickness. A thinned spring has less capacity than it was rated for.
Cable wear: which signs mean stop using the door
- Watch it: a small amount of surface rust on the cable. Lubricate lightly on the next pass.
- Replace now: any fraying or broken strand. A frayed cable loses strength fast.
- Replace now: a slack cable or one that has come off its drum.
- Replace now: uneven tension between the two sides (one side visibly tighter).
- Replace now: a cable end that has pulled out of its fitting.
In our experience, most cable and spring failures that surprise homeowners had a visual warning in the two or three months before they went. The trick is knowing which signs those are and checking for them at the right time of year, which is exactly what the two-season calendar gives you. If you’re not sure what you’re looking at, a professional look is cheap compared to a door that drops.
Opener Maintenance Differences: Genie, LiftMaster, Chamberlain, and More
An opener is not a single appliance. It’s a motor, a gear assembly, a logic board, a remote system, and increasingly a smart-home interface. Different brands have different lubrication points, different drive systems, and different maintenance needs. A generic “check the opener” step misses most of this. Opener issues are their own specialty, and garage door opener repair is a distinctly different job from repairing the door itself.
Chain-drive openers (LiftMaster, Chamberlain, Craftsman)
Chain-drive openers need lubrication on the chain, and the chain tension matters. A slack chain slaps against the rail and produces noise that sounds like a bigger problem. Check the chain once a year during the fall pass. Don’t over-lubricate; a chain that drips grease attracts grit. LiftMaster, Chamberlain, and Craftsman share enough design DNA that the maintenance steps are nearly identical, but a LiftMaster chain uses a different tensioning method from a Chamberlain, so the adjustment isn’t interchangeable. We work on the brand you already have, so the diagnostic path follows what’s actually on the ceiling.
Belt-drive openers (LiftMaster, Chamberlain, Genie)
Belt drives are quieter and need less lubrication than a chain. The belt itself typically doesn’t need product, but the tension and the belt condition matter. A belt that has started to fray or slip will produce a hesitation on the open cycle. Belt drives are more common on newer homes in San Angelo, where the garage often sits close to a bedroom or living area and quiet operation became a priority.
Screw-drive openers (Genie, LiftMaster)
Screw drives need the screw itself greased. Genie screw-drive models in particular call for periodic greasing of the screw, and a dry screw grinds and squeals. This is the one opener type where skipping lubrication produces a fast, audible result.
Smart-home and remote systems
Modern LiftMaster, Chamberlain, and Genie models include Wi-Fi or smart-hub integration, and remotes vary by brand. A remote that “stopped working” after a power flicker or a router change is often a pairing issue, not a hardware failure. Re-pairing according to the brand’s procedure fixes most of them. A keypad that has gone dead is usually a battery or a code reset. Neither is an emergency, and neither is a reason to replace a working opener.
Because we work with the full brand list on most homes in this area, including Genie and Wayne Dalton, we know which maintenance points a specific model actually has. A Wayne Dalton opener has different internal requirements from a Genie, and a LiftMaster from a Chamberlain, even when the doors look similar from the outside.
What a Professional Tune-Up Checks That You Can’t
Homeowner maintenance handles the accessible surfaces. A professional tune-up handles the components you can’t touch safely, plus the diagnostics that require training and tools. Skipping professional maintenance for years usually costs more than the tune-up, because the wear that builds up in those years turns small issues into replacement calls.
A professional tune-up typically covers:
- Spring tension and cycle assessment. A technician can measure how much tension the spring is actually applying and compare it to the door’s weight. This tells them whether the spring is close to its service-life end before any visible sign appears.
- Cable inspection under controlled release. The cable is checked with the spring tension removed, which is where the wear actually is.
- Track alignment. The vertical and horizontal tracks are checked against a straight edge and adjusted. Small misalignments accelerate roller wear.
- Hinge and panel torque. Hinge screws and panel fasteners are checked and re-torqued. Vibration over a year loosens fasteners a homeowner wouldn’t notice.
- Opener force and travel limits. The opener’s force settings and open/close travel distances are checked against the manufacturer’s specs. A mis-set force is a safety issue and a motor-stress issue.
- Safety reverse and sensor alignment. Re-tested with proper equipment. Beam misalignment is common and produces intermittent failures a homeowner reads as “the door is haunted.”
- Roller wear measurement. Worn rollers are identified before they damage the track.
- Opener gear and drive inspection. The motor’s internal gear case and drive train are inspected for wear the homeowner can’t see from the ceiling.
We recommend a professional tune-up every two to three years for most San Angelo homes. If the door gets heavy use (multiple cars, family schedules, a home business), go closer to every two years. The tune-up is where brand-specific parts knowledge matters: we know which parts fit a Clopay door, which fit an Amarr, and which openers need which components, so the correct parts go in on the first visit.
The Five-Minute Monthly Check
Between the two full passes, a five-minute check is enough. Do this once a month, ideally around the first weekend. You’re not servicing anything. You’re noticing.
- Listen. Run the door up and down once. Note any new sound: a squeak, a grind, a rattle, a pop. Compare it to the sound last month.
- Watch the door travel. Does it move smoothly the full distance, or hesitate at a certain point?
- Check the safety reverse. Pass something through the beam while the door closes. It should reverse on contact.
- Look at the rollers and hinges. Any that have changed position or look visually different from a month ago.
- Glance at the springs. From a safe distance, check for a visible gap.
Write anything odd down and mention it at the next full pass or professional tune-up. In San Angelo, where a door can go from quiet to noisy in a single hot week, that monthly listen catches most of the small changes before they turn into a call for San Angelo service.
Common Mistakes to Avoid
- Applying lubricant in August. The product evaporates or absorbs into the surrounding metal before it works into the hinge pins and roller shafts. Do the heavy lubrication in late spring and late fall, not in the middle of the hot season.
- Oiling the tracks. Tracks should be clean and dry. Oil attracts grit, and grit wears the rollers faster than a dry track ever will. Wipe, don’t oil.
- Testing the safety reverse by leaning on the door. The correct test uses a firm object through the beam, or a 2×4 flat under the door. Leaning on a moving door tests nothing and risks injury.
- Touching a broken spring. If you can see a gap in the coil, stop. A broken spring has no tension and the door’s full weight is on the opener or on you. Call for service.
- Adjusting tension with a wrench in hand. Spring tension is the one adjustment on a garage door that genuinely requires training and tools. A homeowner adjusting a torsion spring is the single most common way we see the job turn into a hospital visit. Leave it to a technician.
- Assuming a dead remote means a dead opener. Remotes and keypads fail far more often than the opener motor does, and most dead-remote calls in San Angelo turn out to be a pairing issue or a battery, not a motor replacement.
- Skipping professional tune-ups for years. The visible wear a homeowner can see is maybe half of what’s actually happening. Three years of skipped tune-ups tends to convert a maintenance visit into a repair estimate.
See the difference
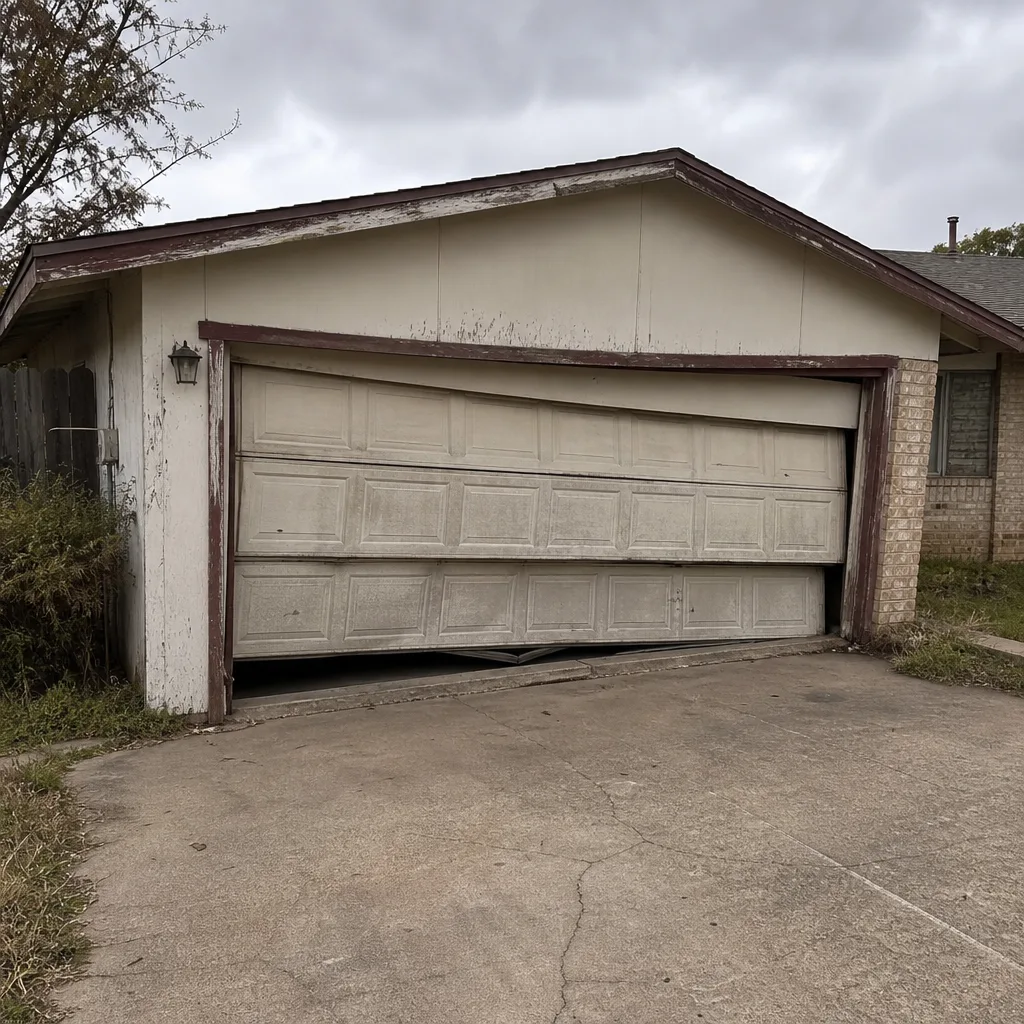 Before
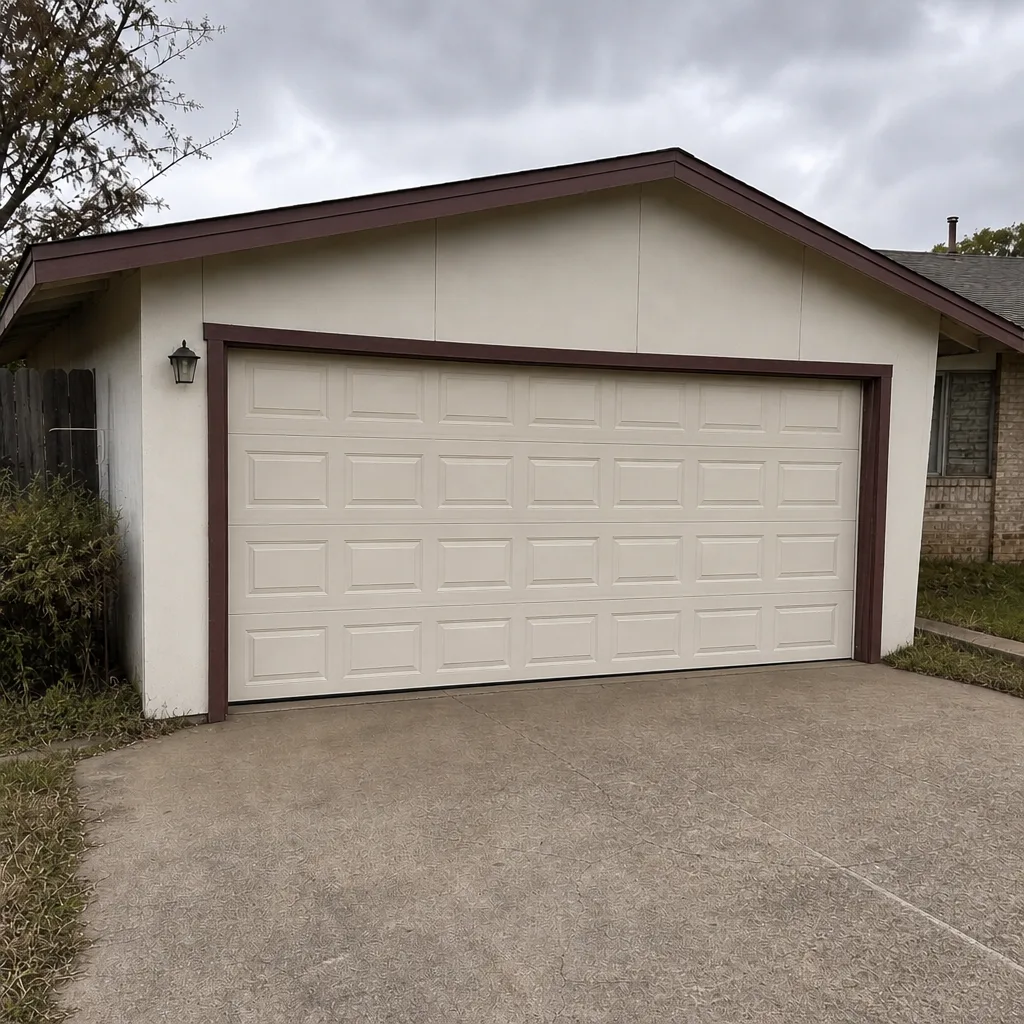 After
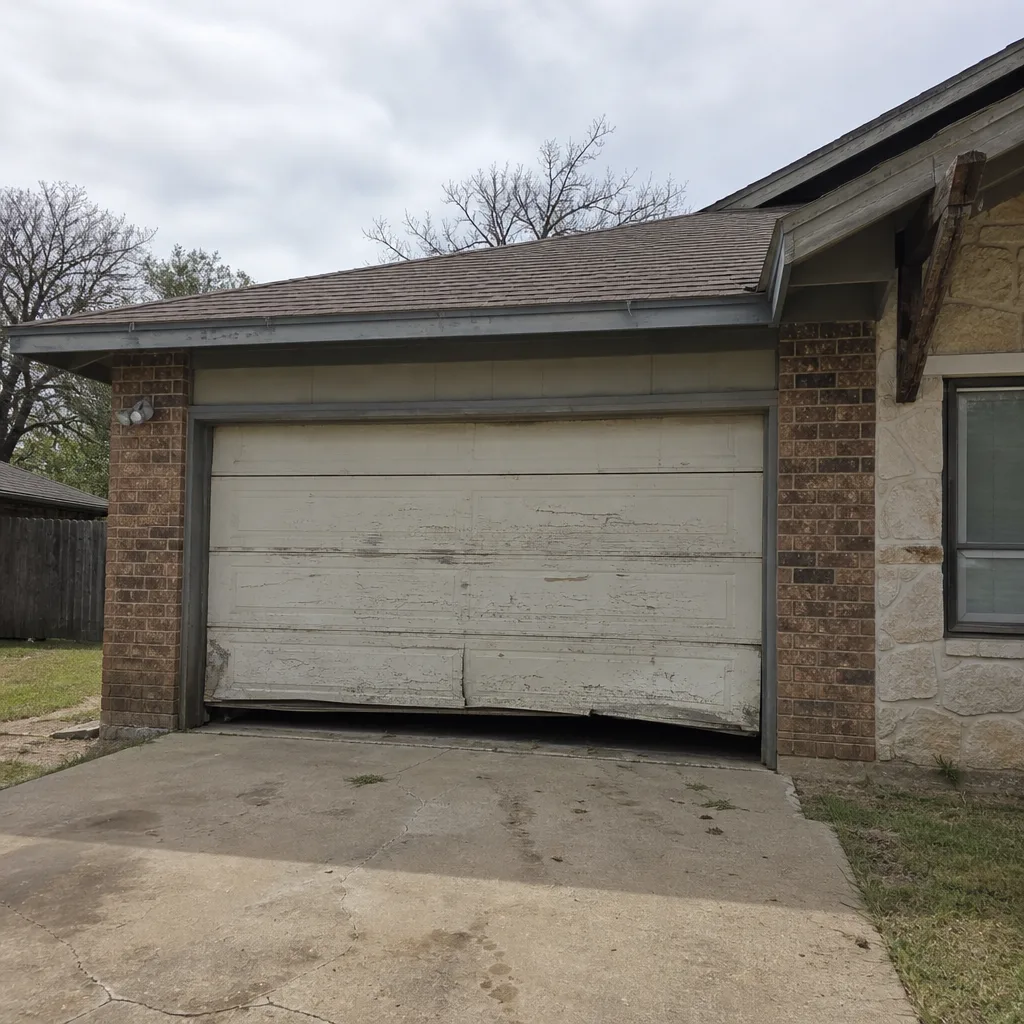 Before
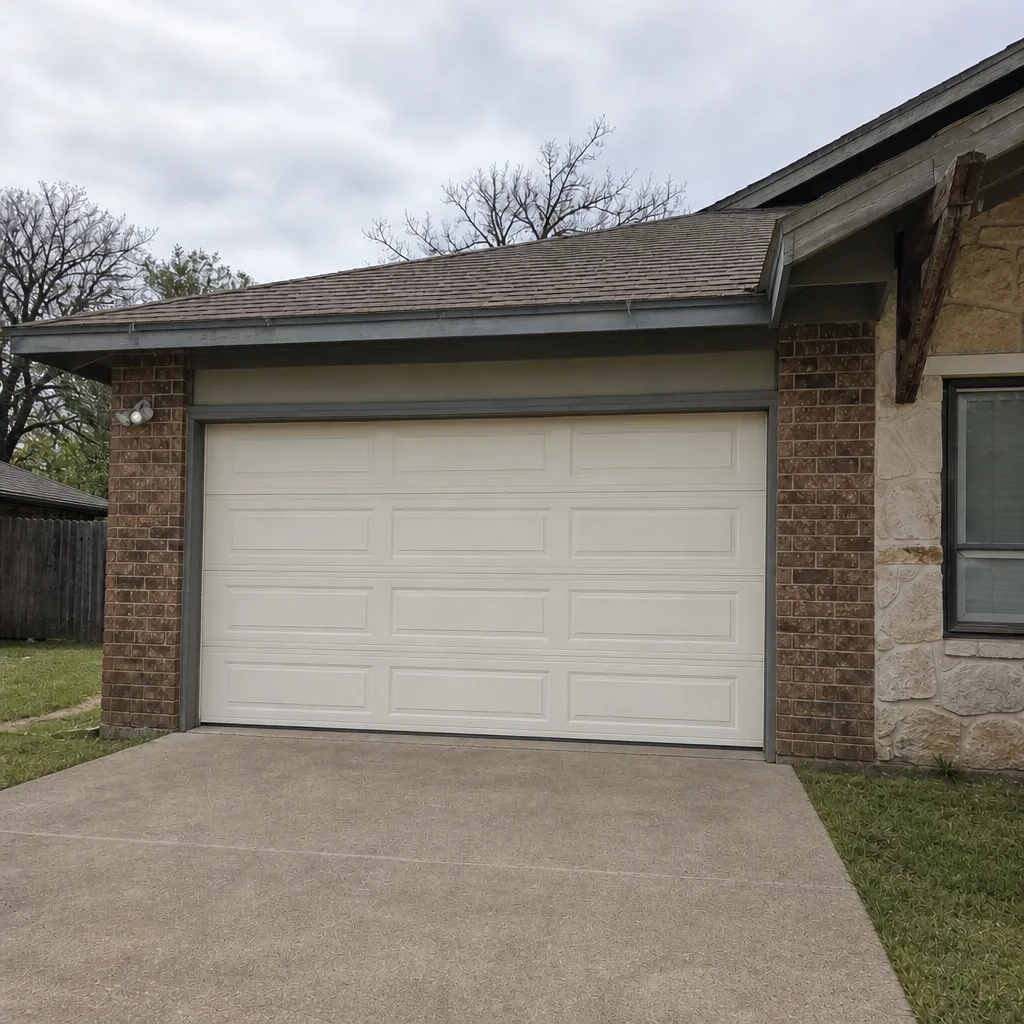 After
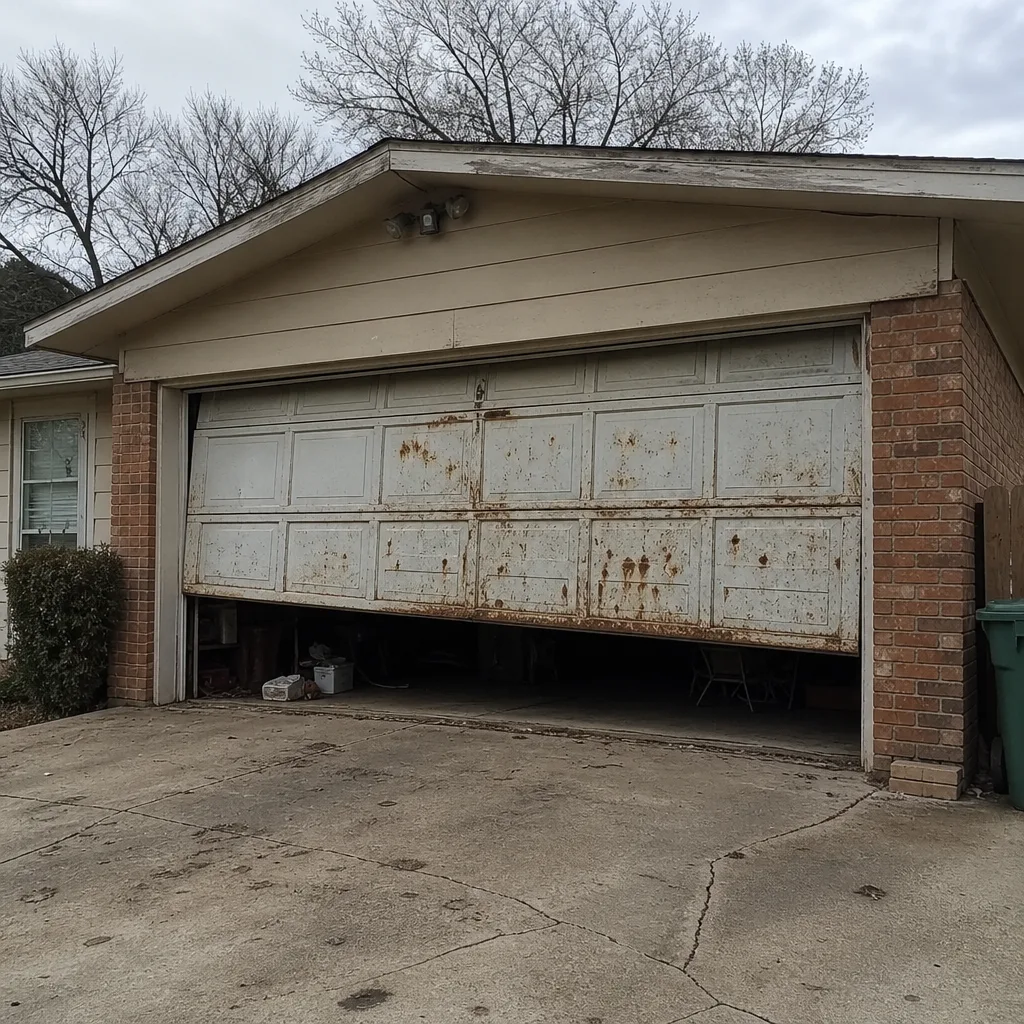 Before
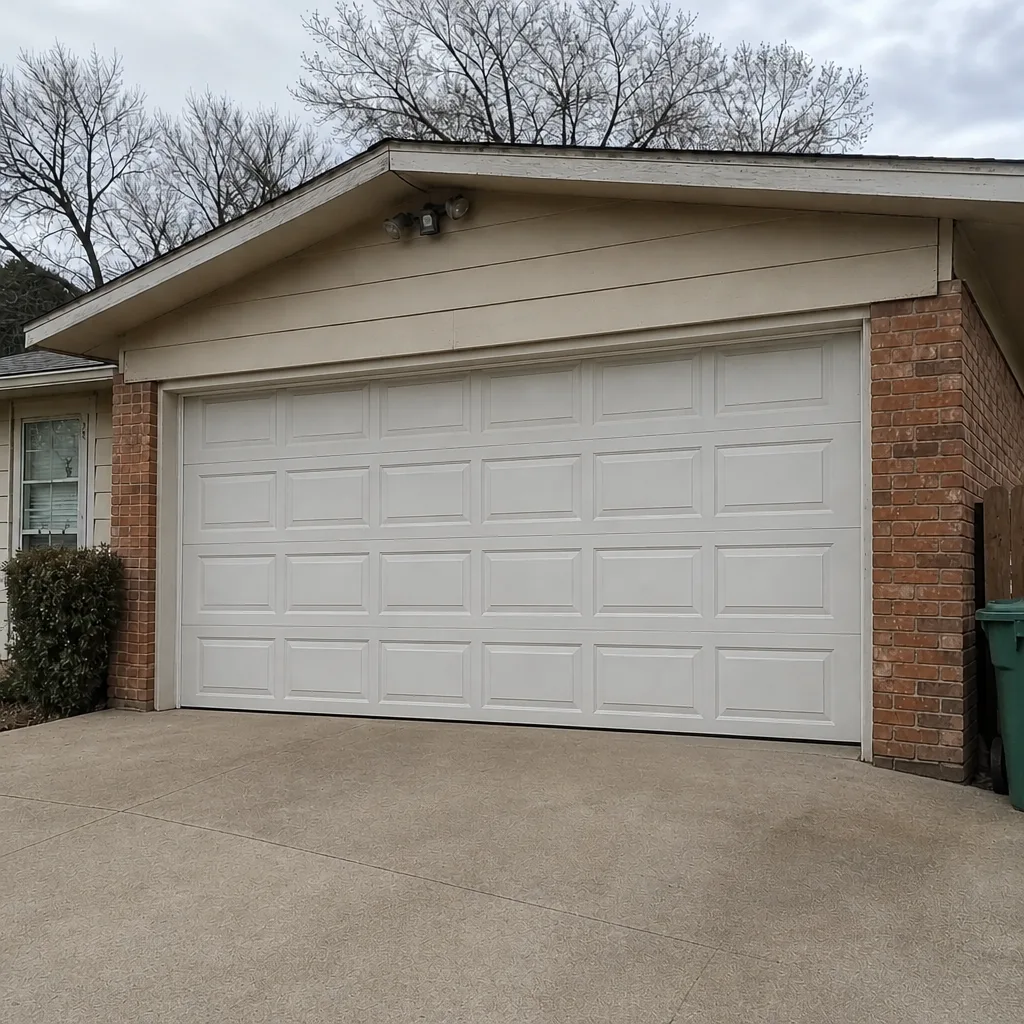 After
When to Call a Professional
Call for professional service anytime you see a gap in a spring, a frayed or slack cable, or a door that has become noticeably harder to lift by hand. Call if the safety reverse test fails, if the door closes unevenly, or if the opener motor runs without the door moving. Call if the door has started making a new noise that wasn’t there a month ago and hasn’t gone away after lubrication. And call if the door has never had a professional tune-up, or if it’s been more than three years since the last one, because the wear that builds up in that window is the wear you can’t see. Ramsey Garage Door Repair serves homes across San Angelo with free estimates, and we work on the brand you already have: LiftMaster, Chamberlain, Genie, Clopay, Amarr, Wayne Dalton, Craftsman, and Raynor. Call (833) 486-5004. We answer 24/7. Fast dispatch from 7am to 7pm, Sunday through Friday.
Frequently Asked Questions
Twice a year, in late spring before the summer heat and again in late fall as temperatures cool. Lubricating in the middle of summer in San Angelo usually wastes product, because the heat dries it out before it works into the hinge pins and roller shafts. The two passes should hit the same points: hinges, rollers, and a light spray on the torsion spring coil.
No. Garage door springs hold the weight of the door under heavy tension, and a torsion spring can release dangerous force without warning. The torque required to wind or unwind a spring calls for specific tools and training. Only a trained technician should work on spring tension, cable adjustments, or any component under tension. A homeowner can inspect the springs visually from a safe distance and call for service when something looks wrong.
Chain drives need lubrication on the chain and periodic tension checks. Belt drives need less lubrication but benefit from belt-tension and condition checks. Screw drives need the screw greased, and a dry screw on a Genie screw-drive model in particular produces a loud grind. Smart-hub and remote systems on LiftMaster and Chamberlain models need periodic re-pairing after network or power changes. Each opener type has different maintenance points, and that’s why opener repair is its own specialty rather than a generic “check the opener” line item.
Yes, in most cases, especially every two to three years. A professional tune-up checks the spring tension, cable wear, track alignment, and opener force settings, which are components a homeowner can’t safely inspect or adjust. A door that sounds fine can still have a spring close to the end of its rated service life or a cable with a frayed strand. Catching either before it fails prevents a bigger repair.
Watch for a visible gap in the coil, heavy rust that has eaten into the wire, a warped or sagging spring, or a door that has become noticeably harder to lift by hand. A visible gap means the spring has already broken. Light surface rust is a watch item; rust that has thinned the wire, or a warped coil, is a replace-now sign. Any of the replace-now signs is a reason to stop using the door and call a technician.
No. The maintenance schedule depends on climate and the door’s opening mechanism, not the manufacturer. A Clopay door and an Amarr door in San Angelo both want the two-season pass: lubrication, balance, safety reverse, and visual inspection in late spring and late fall. What the brand determines is the parts list, which is why knowing the manufacturer matters when something needs replacement. Ramsey Garage Door Repair works with all eight major brands, so the parts match the door.
The Bottom Line
A garage door maintenance schedule in San Angelo comes down to four tasks, done at two times of year. Lubricate, check the balance, test the safety reverse, and inspect the springs, cables, and hardware in late spring before the heat and again in late fall as it cools. Between the two passes, a five-minute monthly listen catches almost everything. Skip the professional tune-up for years and the wear you can’t see turns into a repair estimate. A door is the largest moving part of most homes, and it deserves a schedule built for this climate, not a generic national one. If you’re due for a professional tune-up, or you’ve seen something that worries you, Ramsey Garage Door Repair is here to help. Call (833) 486-5004 for a free estimate. We answer 24/7. Fast dispatch from 7am to 7pm, Sunday through Friday.
Written by the team at Ramsey Garage Door Repair.