
Last updated November 15, 2026
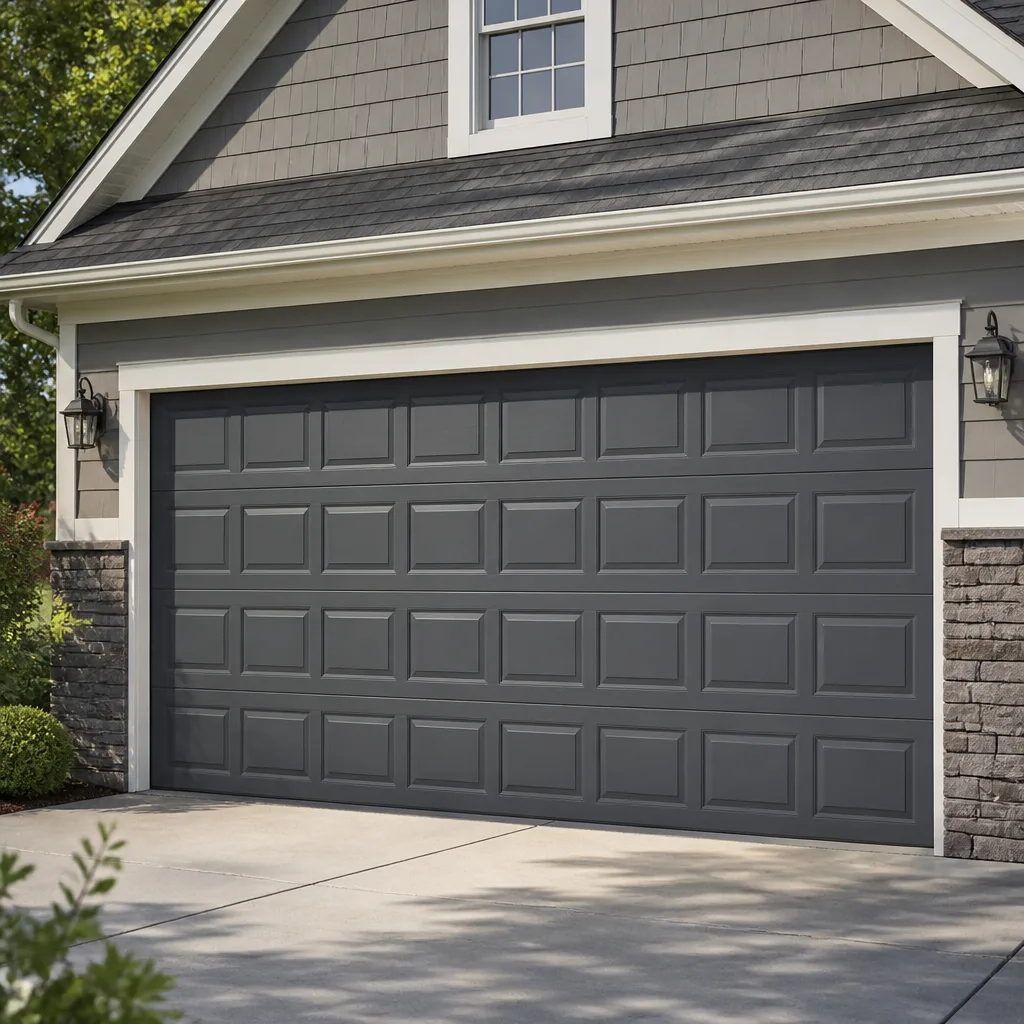 Raised-panel steel
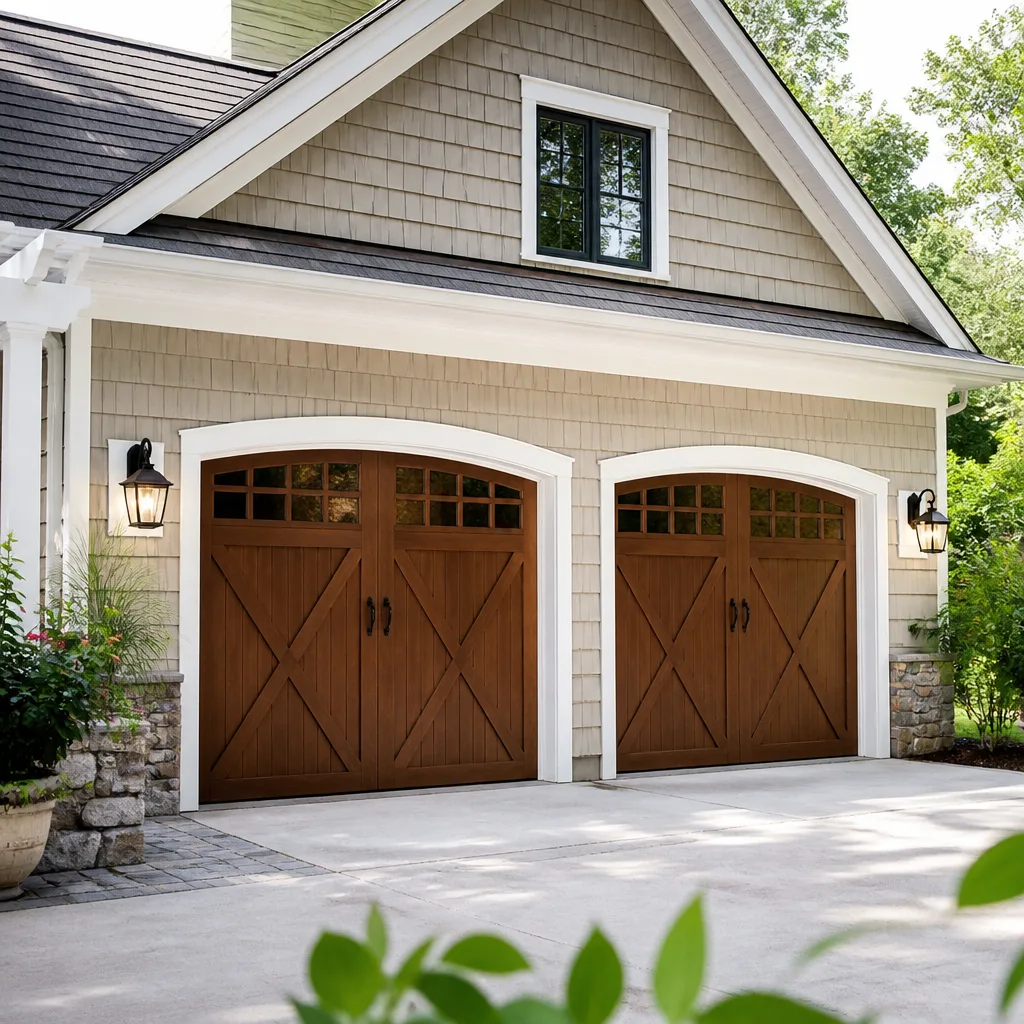 Carriage house
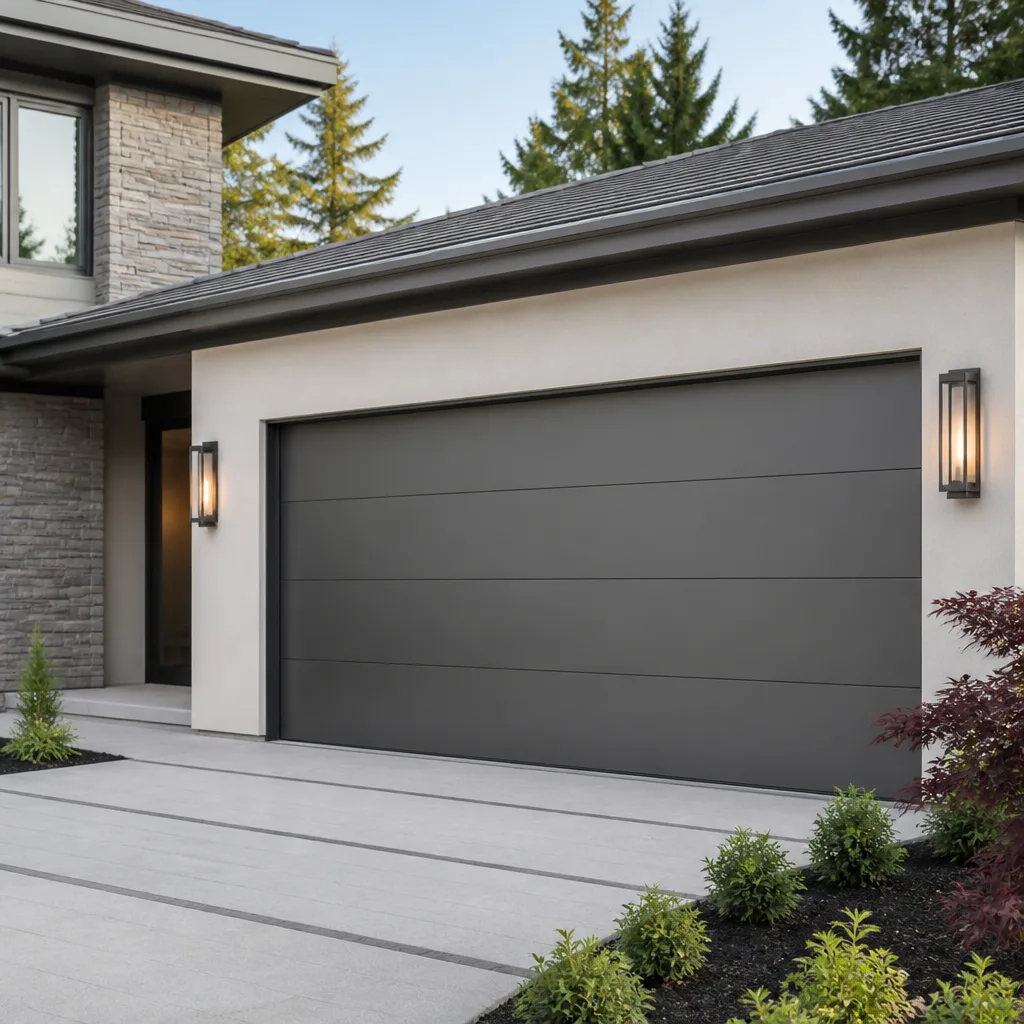 Modern flush
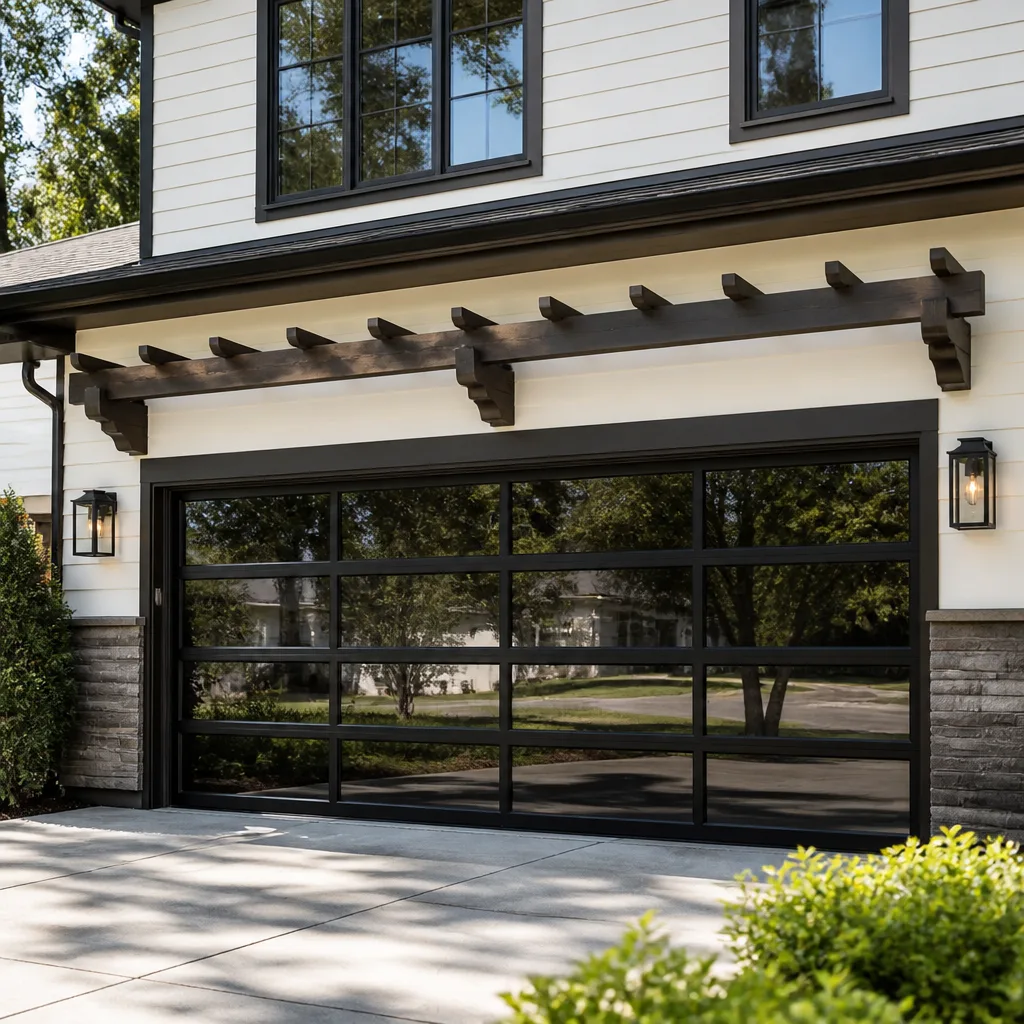 Full-view glass
 LiftMaster openers
 Chamberlain openers
Full 25-point door and opener safety check with every visit - springs, cables, rollers, tracks, and your LiftMaster or Chamberlain opener included
You get a price before we start. It does not change when the pro arrives.
Get your free estimateGarage Door Repair Maintenance Checklist for San Angelo Homeowners
Most garage door maintenance advice you’ll find online was written for a mild climate that doesn’t really exist here. “Lubricate every six months” sounds tidy until you’ve watched a San Angelo summer bake a door for a few weeks straight, or a blue norther drop in overnight and leave every metal part on the door contracted and stiff. Your garage door is the largest moving part of your home, and in West Texas it works harder than the calendar-based checklists account for. This guide is built around San Angelo conditions instead of generic quarterly reminders. You’ll get a checklist timed to heat, dust, and cold snaps, a clear split between what you can safely do yourself and what needs a technician, and the specific things that quietly wear out fastest here.
Quick Answer
A garage door maintenance checklist for San Angelo should be timed to local conditions, not calendar quarters. In practice that means lubricating moving parts more often through long hot spells, clearing caliche dust from tracks and rollers as a standing monthly task, checking spring tension after hard freezes, and inspecting weatherstripping when summer heat is at its worst. Homeowners can safely handle cleaning, lubrication, and visual checks; springs, cables, and opener adjustments should go to a trained technician.
Styles & brands we work with
- Raised-panel steel
- Carriage house
- Modern flush
- Full-view glass
- LiftMaster openers
- Chamberlain openers
Table of Contents
- Why a San Angelo Checklist Looks Different
- The Baseline Six-Month Inspection
- Lubrication on a Temperature Schedule, Not a Calendar
- Caliche Dust in Tracks and Rollers
- Spring Checks After a Hard Freeze
- Weatherstripping Through the Summer Heat Cycle
- Opener and Safety Sensor Checks
- The Printable Checklist by Task Complexity
Why a San Angelo Checklist Looks Different
San Angelo’s climate puts two very different kinds of stress on a garage door, and they don’t arrive on the same schedule. Summer delivers long stretches of extreme heat that push lubricants toward drying out and cook the rubber compounds in your weatherstripping. Then a blue norther can drop temperatures sharply in a matter of hours, and every metal component on the door contracts at once. A garage door in San Angelo lives through both extremes in a single year, which is exactly why a single “every six months” reminder doesn’t fit.
There’s a second local factor that most checklists never mention: caliche dust. Anyone who’s lived in San Angelo for a season knows how fine that pale dust gets, and how it finds its way into every horizontal surface. Garage door tracks are basically horizontal dust collectors mounted at chest height. Rollers ride in those tracks, and when grit builds up, the rollers don’t turn cleanly. They slide, drag, and wear flat spots. Multiply that friction across a door that opens and closes several times a day and you get a mechanism working harder than it should every single time.
So the checklist below is organized around three questions: what the heat does, what the cold snaps do, and what the dust does. If you’ve been following generic advice and wondering why your door still feels rough, that mismatch is usually the reason. In our experience across San Angelo, a door that’s checked against local conditions lasts noticeably better than one on a fixed calendar.
The Baseline Six-Month Inspection
Even in a demanding climate, some tasks genuinely belong on a six-month rhythm. Treat this as the floor, not the ceiling. Twice a year, set aside twenty minutes and walk the whole door system methodically. Do the inspection with the door closed and the opener disconnected if you can do so safely, then repeat a few visual checks with it open.
Here’s the baseline inspection, in order:
- Wash and look. Rinse the door panels and track, then inspect for rust spots, dents, or panel separation. Rust starts small and spreads through paint chips.
- Test the balance. With the opener disengaged, lift the door halfway by hand. It should hold there. A door that drifts down or shoots up is out of balance, which points to spring tension.
- Check the rollers. Look for flat spots, cracks, or wobble. Nylon rollers should spin freely; steel rollers should turn without grinding.
- Inspect the hinges. Tighten any loose hinge screws and look for worn metal at the pivot points.
- Look at the cables. Cables should sit evenly in their drums with no fraying, kinks, or slack. If you see any of that, stop and call a technician.
- Check the springs. Visual only. Look for gaps, rust, or stretching. Never touch or adjust them yourself.
- Test the safety reverse. Place a small object in the door’s path and confirm it reverses on contact. Test the photo-eye sensors the same way.
- Inspect the weatherstripping. Run a hand along the bottom seal and the perimeter for cracks, gaps, or hardening.
That’s the skeleton. Everything else on this San Angelo checklist adjusts the timing of specific tasks based on what the weather has actually been doing.
Lubrication on a Temperature Schedule, Not a Calendar
Here’s where generic advice breaks down most clearly. “Lubricate every six months” assumes moderate temperatures. When San Angelo sits above 100°F for days or weeks, the lubricant on your rollers, hinges, and springs doesn’t just sit there quietly. Heat thins it, gravity pulls it down and off the surfaces, and dust captures whatever’s left. A door lubricated in a mild month can be running nearly dry by the end of a brutal one.
Our rule of thumb for San Angelo: treat the heat, not the calendar, as your trigger. If the region has been through a sustained hot spell, that’s a cue to re-check lubrication. In a normal year that often means lubricating more often than twice. In a cooler stretch, it can stay closer to the standard rhythm.
A few practical guidelines for how to do it:
- Use a purpose-made garage door lubricant, not general-purpose oil or WD-40. Oil attracts dust, which is the opposite of what you want here.
- Apply to hinge pivots, roller stems, and the torsion spring coils (spray the coils, don’t wipe).
- Never lubricate the tracks themselves. Tracks should be clean and dry. Grease in a track grabs caliche dust and turns it into grinding paste.
- Wipe away excess. A thin film is what you want, not a coating.
- After every lubrication pass, open and close the door a few times to spread the product evenly.
If your door has been squeaking or groaning through the summer months in San Angelo, that’s usually a lubricant-and-dust problem rather than a mechanical failure. It’s one of the most common things we see, and one of the cheapest to head off with a bit of attention. When a problem does turn mechanical, that’s where garage door repair comes in.
Caliche Dust in Tracks and Rollers
Caliche dust is the maintenance item San Angelo homeowners deal with that most checklists never even mention. The dust is fine, pale, and relentless. It settles on the tracks, works into the roller bearings, and combines with any lubricant or moisture to form a gritty film. Left alone, that film accelerates wear on the rollers and makes the door work harder on every open and close.
Clearing it doesn’t require a specialist. Here’s the routine:
- Disconnect the opener and leave the door fully closed.
- Use a dry cloth or a soft brush to wipe the inside of the vertical tracks from bottom to top. Don’t use water; you want to remove dust, not make paste.
- Wipe each roller’s face and stem. If a roller feels gritty or doesn’t turn freely, note it for replacement.
- Use a vacuum with a brush attachment on the horizontal tracks above the door.
- Check the bottom seal for trapped dust and brush it out.
- Once clean, apply a thin coat of lubricant to roller stems and hinges only, never to the track surface.
Think of this as a monthly task during dry, windy stretches. You don’t need to make it a formal inspection; a quick wipe after you notice the tracks looking pale is usually enough. The point is to keep the grit from compounding.
We’ve watched caliche dust shorten the life of standard steel rollers considerably compared to nylon rollers, which is one of the reasons a roller upgrade is often worth considering for San Angelo doors. If your rollers have already developed flat spots or are noticeably noisy, replacing them isn’t a big job, but it’s one worth having a technician look at to make sure the tracks and door balance are sound too.
Spring Checks After a Hard Freeze
Torsion springs are the part that makes the door feel light. They’re also under enormous tension, and metal behaves differently when it gets cold. After a hard West Texas freeze, springs contract, and the tension on the whole system changes. A door that felt perfectly balanced in October can feel noticeably heavier in the first cold snap of the season. That change is normal to a point, but it’s also exactly when a spring near the end of its life can fail.
Safety first: torsion springs are the most dangerous component on your garage door. They’re under enough tension to cause serious injury, and adjusting them requires specialized tools and training. Don’t try to adjust, tighten, or replace them yourself under any circumstances. A visual check is all a homeowner should do.
After a freeze, here’s what’s safe to check:
- Look at the coils for visible gaps, rust, or noticeable stretching. A stretched spring means the door will feel heavier and the opener will work harder.
- Test the balance by hand with the door disconnected, as described in the six-month inspection. If the door feels significantly heavier than before the cold snap, that’s worth a professional look.
- Listen for a loud bang coming from the garage. A snapped spring makes a sharp sound you won’t miss. If it happens, leave the door alone, don’t try to open it, and call a technician.
- Check the cables for any change in tension or fraying.
If your door has been balanced and quiet all summer and suddenly fights you after the first cold snap, that’s the moment to have a technician look at spring tension, cable condition, and overall balance. It’s much better to catch a fatigued spring before it fails.
Weatherstripping Through the Summer Heat Cycle
Weatherstripping is the part of your garage door that wears fastest in San Angelo, and the summer heat cycle is why. Rubber and vinyl compounds degrade under sustained heat, UV exposure, and the expansion-contraction cycle of the door itself. The bottom seal in particular is doing two jobs: sealing out dust and insects over the summer, and holding against the cold and wind of winter. When it hardens and cracks, you lose both.
Inspect the weatherstripping at the start of summer and again at the end. Here’s what to look for:
- Hardening: Squeeze the bottom seal. It should flex easily. If it feels stiff or brittle, it’s past its useful life.
- Cracks: Run your hand along the seal. Small cracks mean it’s about to let dust and insects in.
- Gaps at the ground: With the door closed, look for daylight visible under the door. Any visible gap means the seal isn’t sitting flush.
- Perimeter seal: Check the brush or rubber strip around the frame. Pulled nails and loose sections are common under summer expansion.
- Panel warping: If the door panels are visibly warped, the weatherstripping can’t seal even when it’s in good condition.
Bottom seals are one of the more affordable parts of a garage door system and one of the easiest to replace. Replacing a hardened seal before summer helps you keep dust out and cold in. Perimeter seals take a bit more work, especially if the frame has warped or the seal has pulled free at the edges.
This is also a good moment to look at the door’s overall door-panel condition. Heat puts real stress on painted steel and wood, and a panel that’s begun to bow or separate will make new weatherstripping feel pointless.
Opener and Safety Sensor Checks
Opener issues are their own specialty, and they tend to get treated as an afterthought in general maintenance advice. The opener motor, remote, keypad, and smart-home integration are separate systems from the door mechanics. A perfectly balanced door can still be held back by an opener with a drifting force adjustment or a failing logic board.
Here’s what a homeowner can check without opening up the unit:
- Test the remote and keypad. If one works and another doesn’t, the problem is likely the device battery or programming, not the opener. Replace batteries first.
- Test the wall switch. If the wall switch works and the remotes don’t, the problem is in the remote signal or a receiver issue.
- Run the safety reverse test. Place an object in the path of the closing door. It should reverse without much pressure. If it doesn’t, the opener’s force setting or the sensors need attention.
- Test the photo-eye sensors. Wipe them clean and check that the indicator lights are steady. If they’re flickering or off, they need realigning or replacing. Check the wiring for dust or damage at the same time.
- Look at the wall mount. Check the bracket and bolts for looseness. A wobbling opener motor produces unnecessary vibration and noise.
- Note any odd noises. Grinding or clicking from the opener is usually the gears or the belt. Chain-drive openers are noisier than belt-drive; if the noise has changed, it’s worth a look.
If you have a LiftMaster, Chamberlain, Genie, or Raynor opener and the remote or keypad stops working reliably, the issue is often in the device, not the motor. Opener-specific checks save you a service call when the fix is a battery, and get you to the right garage door opener repair when it isn’t.
One warning: don’t go digging into the opener’s internal wiring unless you’re sure of what you’re doing. It’s a small motor with a control board and a capacitor, and handling it wrong can hurt. If a visual check doesn’t solve the problem, a technician can diagnose it faster.
The Printable Checklist by Task Complexity
The most useful split on any garage door checklist is simplicity: what can you safely do yourself, and what should a technician handle? Here’s the full checklist broken into those two groups. Print it, stick it on the garage wall, and use the task-based split to plan the work.
Homeowner Tasks (Safe)
- Monthly: Wipe caliche dust out of tracks and off roller faces.
- Monthly: Listen for any new noise; a change in sound is usually an early signal.
- After sustained heat: Re-check lubrication on hinges, rollers, and spring coils.
- After a freeze: Test door balance by hand; look for gaps in springs and cables.
- Spring and fall: Wash the door and inspect for rust, dents, and panel separation.
- Spring and fall: Inspect weatherstripping for stiffness, cracks, and gaps.
- Spring and fall: Test safety reverse and photo-eye sensors.
- Spring and fall: Replace remote and keypad batteries; test wall switch.
Technician Tasks (Specialized)
- Spring repair or replacement (torsion or extension).
- Cable repair or replacement.
- Roller and hinge replacement when wear is significant.
- Track realignment after a bend, a vehicle impact, or obvious misalignment.
- Balance and force adjustment on the door and opener.
- Opener diagnostics, control board, and motor issues.
- Safety sensor wiring and photo-eye replacement.
- Bottom seal and perimeter seal replacement when the existing seal is beyond a simple clean.
Cross-reference the two lists against what you’ve noticed on your own door. The homeowner tasks are the maintenance rhythm; the technician tasks are the fixes. The goal is for the first list to keep the second list short. A homeowner who handles dust, lubrication, and seasonal checks needs a technician’s help far less often than one who waits for a symptom.
When the technician side is unavoidable, our technicians have up to 14 years of experience working on the brands actually installed in San Angelo homes, from Raynor and Chamberlain to Genie and LiftMaster. Working on the brand that’s already on your door means the right parts get sourced and the diagnosis is quicker.
Common Mistakes to Avoid
- Following generic “every six months” advice word for word. That schedule was written for a mild climate, not San Angelo’s heat and freeze swings. Timing the tasks to the weather matters more than hitting a fixed calendar.
- Using oil or WD-40 on the tracks. Tracks should be clean and dry. Any lubricant in the tracks grabs caliche dust and turns into a grinding paste that wears the rollers faster than if you’d left them alone.
- Adjusting or replacing springs yourself. This is the single most dangerous maintenance mistake a homeowner can make. Torsion springs are under enough tension to cause serious injury. Visual checks only, then a call.
- Ignoring caliche dust buildup. Left alone, the dust accelerates roller wear and makes the door work harder. It’s a five-minute monthly wipe; skipping it turns into a part replacement.
- Skipping weatherstripping inspection in summer. The heat cycle is exactly when rubber compounds harden and crack. By the time you notice dust in the garage, the seal is likely already done.
- Testing safety reverse with a hand or a person. Use a small object, never a body part. The reverse test is real.
- Waiting for a symptom before you look. A door that gets louder, jumps, or feels heavier is telling you something. Reacting to early signals keeps costs down.
See the difference
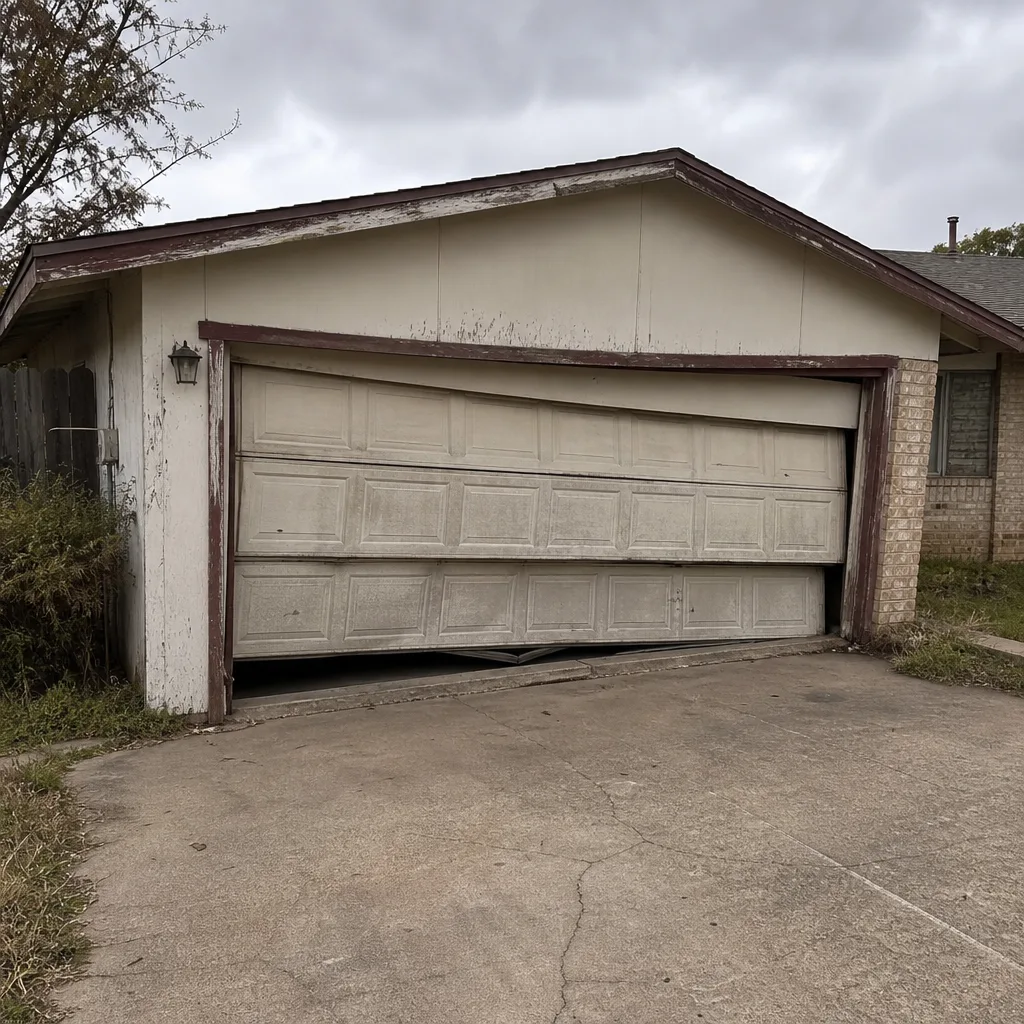 Before
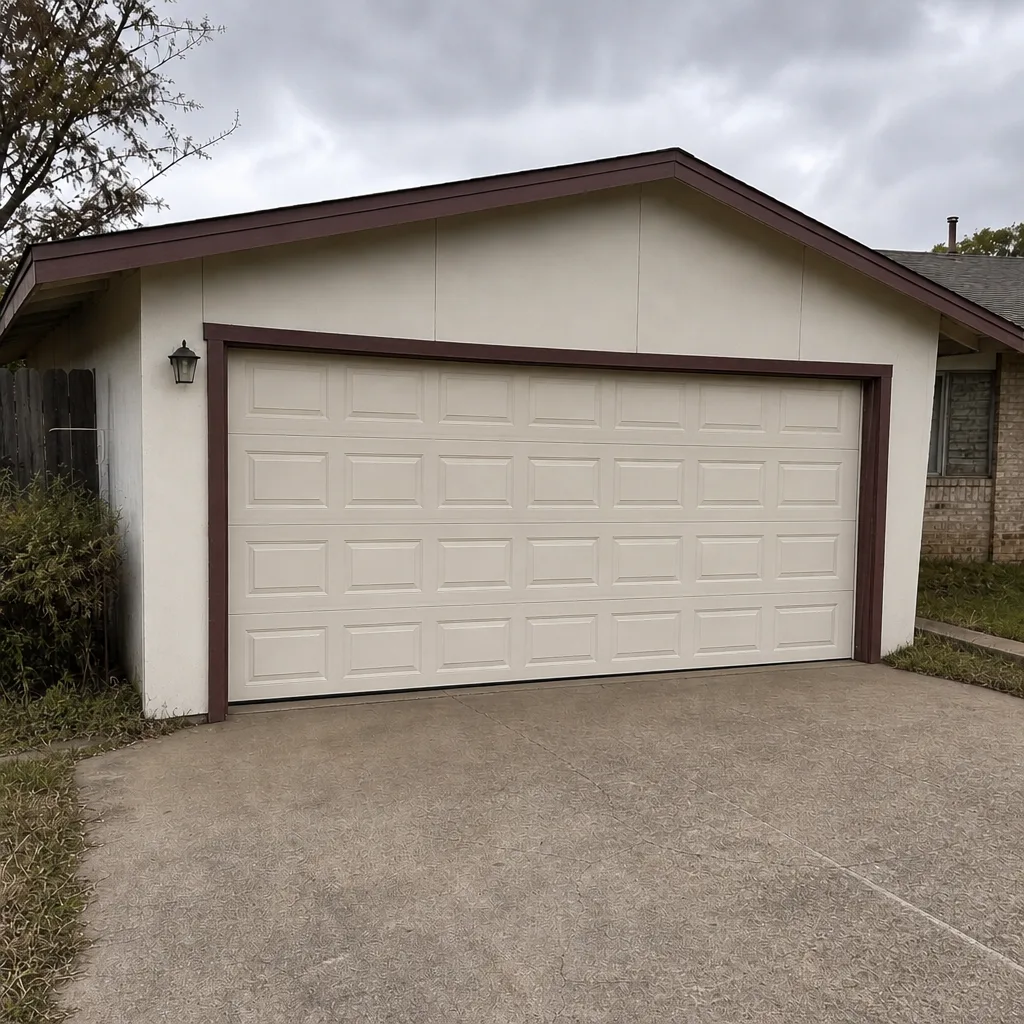 After
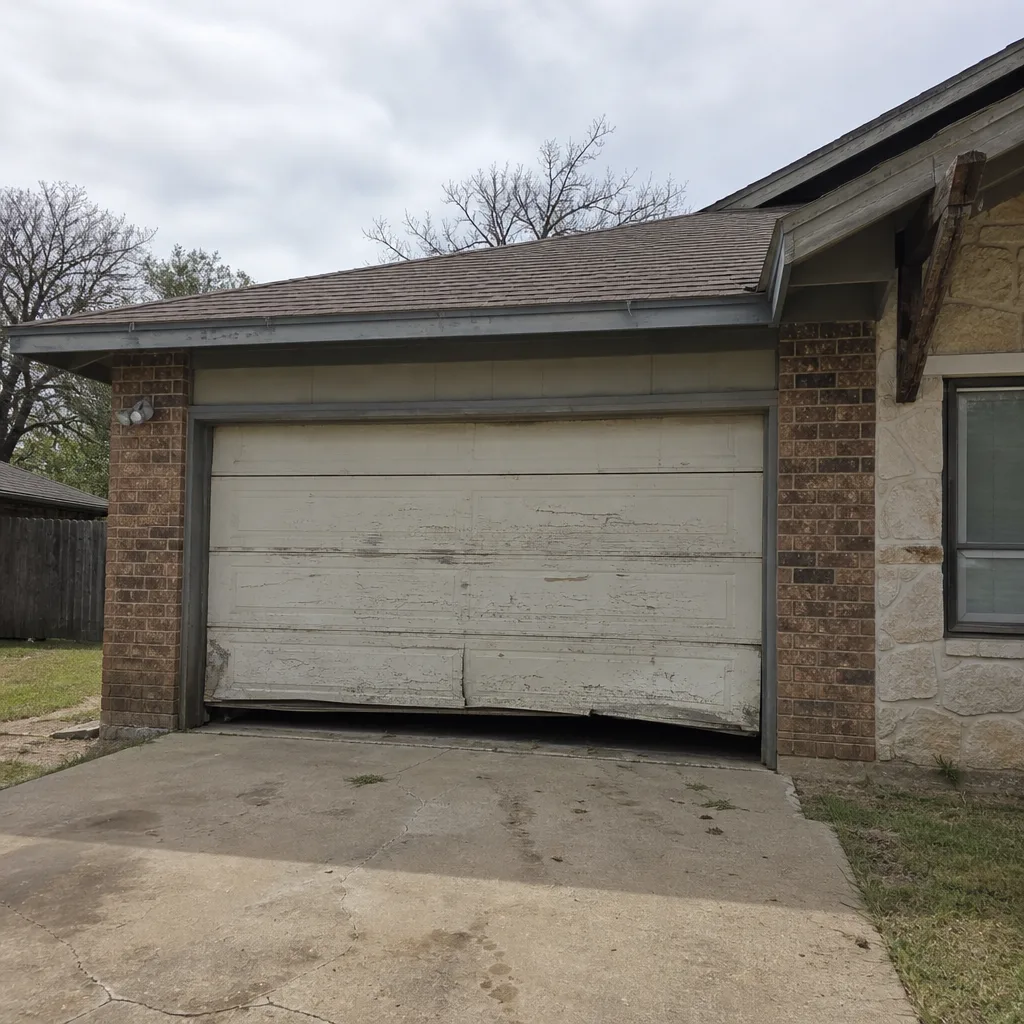 Before
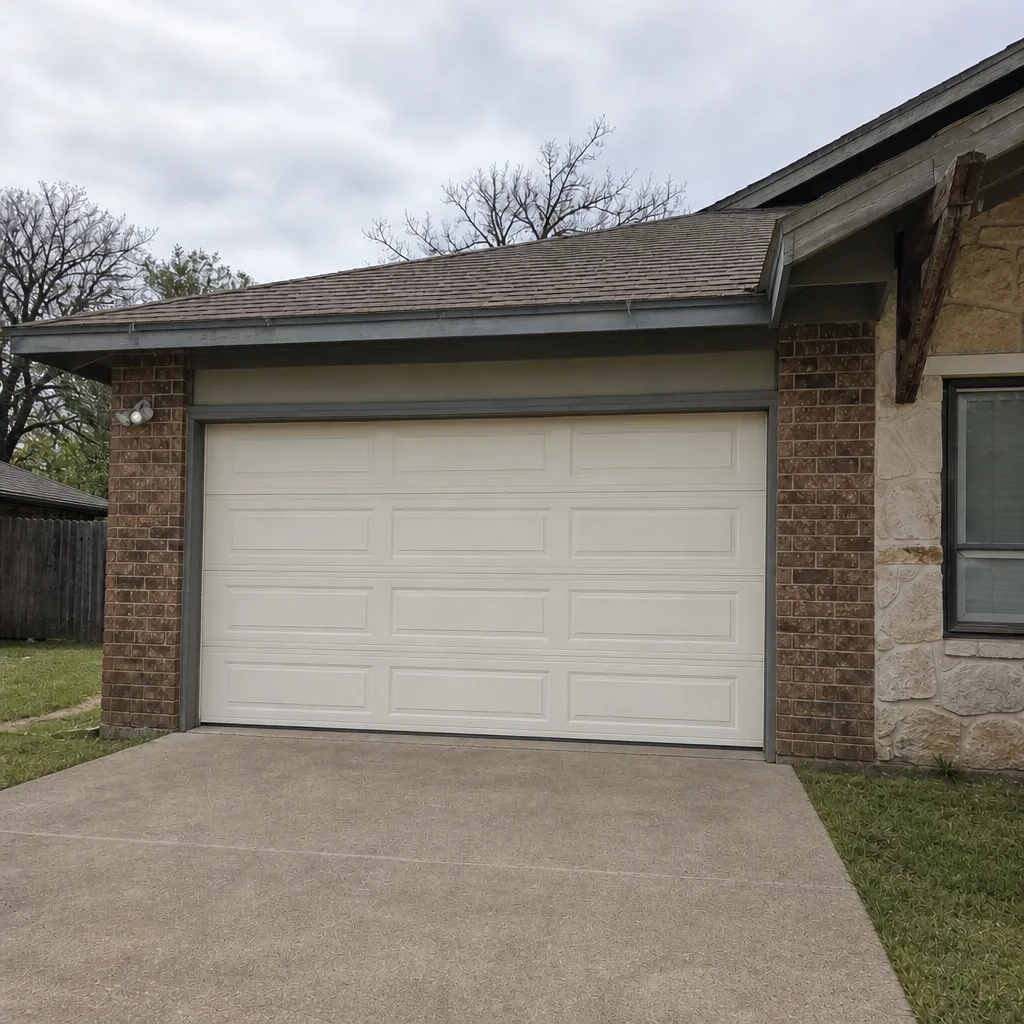 After
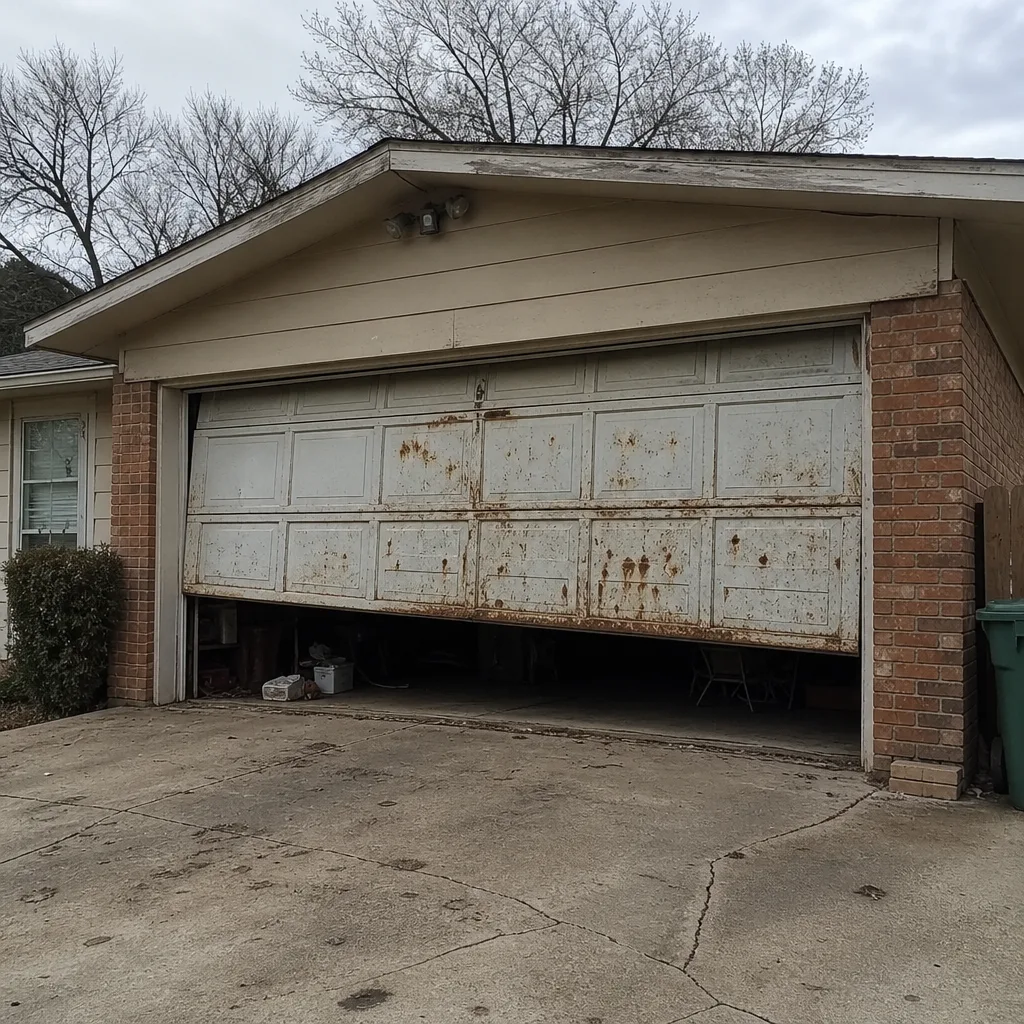 Before
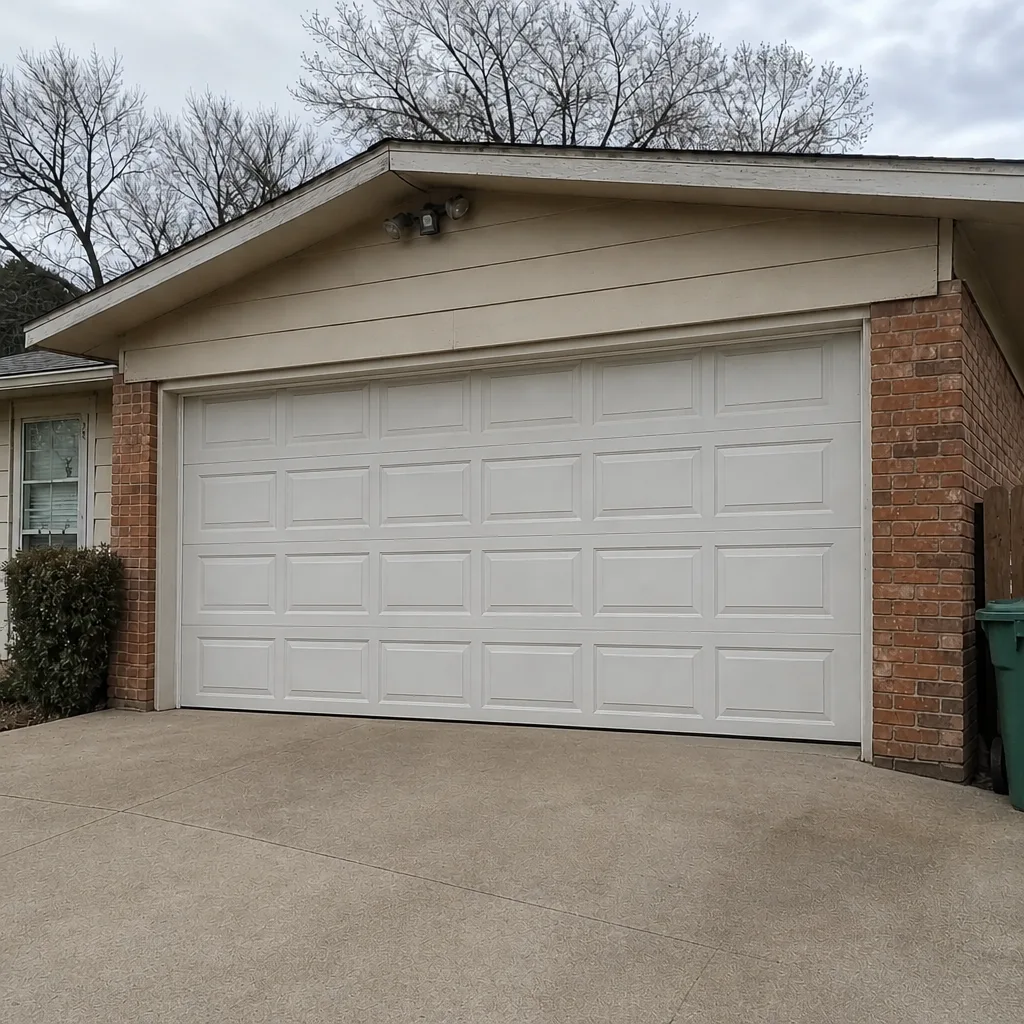 After
When to Call a Professional
Most of the checklist above is routine. Some of it isn’t. Call a technician when you hear a loud bang from the garage and the door won’t lift, when the door won’t open at all, when the door feels significantly heavier after a cold snap, or when you see fraying on a cable. Those are the signals that point to spring, cable, or balance problems that aren’t safe to handle on your own.
Also call when the opener won’t respond after batteries and wiring checks, when a photo-eye sensor keeps tripping after realignment, or when a door has been repeatedly reversing on its own. Opener issues are their own specialty, and the fix is often faster with the right diagnostic. When you’re ready for help, Ramsey Garage Door Repair offers free estimates in San Angelo. Call (833) 486-5004. We answer 24/7. Fast dispatch from 7am to 7pm, Sunday through Friday.
If the door itself is at end of life, installation is a separate decision from maintenance, and it’s worth getting a proper look before committing to a replacement. Repair first, replace only when it makes sense, is a fair approach for most San Angelo doors.
Frequently Asked Questions
More often than the standard “every six months” advice, because San Angelo heat thins lubricant and caliche dust captures whatever’s left. Re-check lubrication after any sustained hot spell, and expect to apply it more than twice a year in a normal summer. Call (833) 486-5004 for an exact quote if your door is running rough, whatever the cause. Estimates are free.
Caliche dust is the fine, pale dust common in San Angelo soil, and it settles on your garage door tracks and roller bearings. Left alone, it combines with any lubricant to form a gritty paste that grinds the rollers and makes the door work harder. A monthly dry wipe keeps it from compounding. If the rollers are already worn, call (833) 486-5004 for an estimate.
Yes, visually. West Texas cold snaps cause metal to contract, which changes spring tension and can cause a fatigued spring to fail. Check for visible gaps, stretching, or rust, and test balance by hand with the opener disconnected. Never adjust springs yourself. Call (833) 486-5004 if anything looks off, and we can take a look.
Repair is the right call for most problems, and replacement makes sense mainly when panels are structurally failed, the door is significantly out of balance across multiple components, or the cost of fixes approaches the cost of a new door. A proper estimate will make the tradeoff clear. Call (833) 486-5004 and we’ll give you a written estimate before any work starts.
Yes. We work on the brand you already have, including LiftMaster, Chamberlain, Genie, Raynor, Clopay, Amarr, Wayne Dalton, and Craftsman. Working on the brand that’s already installed means faster diagnosis and the right parts, without substitution guesswork. Call (833) 486-5004 for a free estimate in San Angelo.
No. The price is set by the written estimate and agreed before any work starts. If we find a related issue during the visit, we’ll show you what we found and adjust the written estimate before we proceed. Call (833) 486-5004 for an exact quote. Estimates are free.
The Bottom Line
A garage door maintenance checklist is only useful if it’s timed to real conditions. In San Angelo, that means letting the heat drive your lubrication schedule, wiping caliche dust off the tracks monthly, checking spring tension after every hard freeze, and inspecting weatherstripping through the summer heat cycle. Homeowners can handle the cleaning, lubrication, and seasonal checks; springs, cables, and opener adjustments belong to a technician.
Get the rhythm right and the door stays quieter, lasts longer, and needs fewer repairs. Miss it and the small stuff compounds. If you’re not sure what your door needs, Ramsey Garage Door Repair gives free estimates in San Angelo. Call (833) 486-5004. We answer 24/7. Fast dispatch from 7am to 7pm, Sunday through Friday. The written estimate sets the price, and it’s agreed before any work begins.
Written by the team at Ramsey Garage Door Repair.